
You're staring at your sprinkler controller on a crisp October morning, and you know what's coming. Temperatures across Maryland, DC, and Northern Virginia are about to drop, and the water sitting inside your sprinkler system could become your most expensive spring surprise.
Frozen water expands with enough force to crack pipes, split fittings, and destroy valves underground where you can't see it until the damage is done.
TLC Incorporated has been winterizing irrigation systems for homeowners across the Mid-Atlantic region for over 42 years. In that time, we've seen what happens when winterization gets skipped or done halfway. This guide walks you through seven clear steps to shut down and protect your sprinkler system before the first hard freeze.
Quick Guide: How to Winterize Your Sprinkler System in 7 Easy Steps
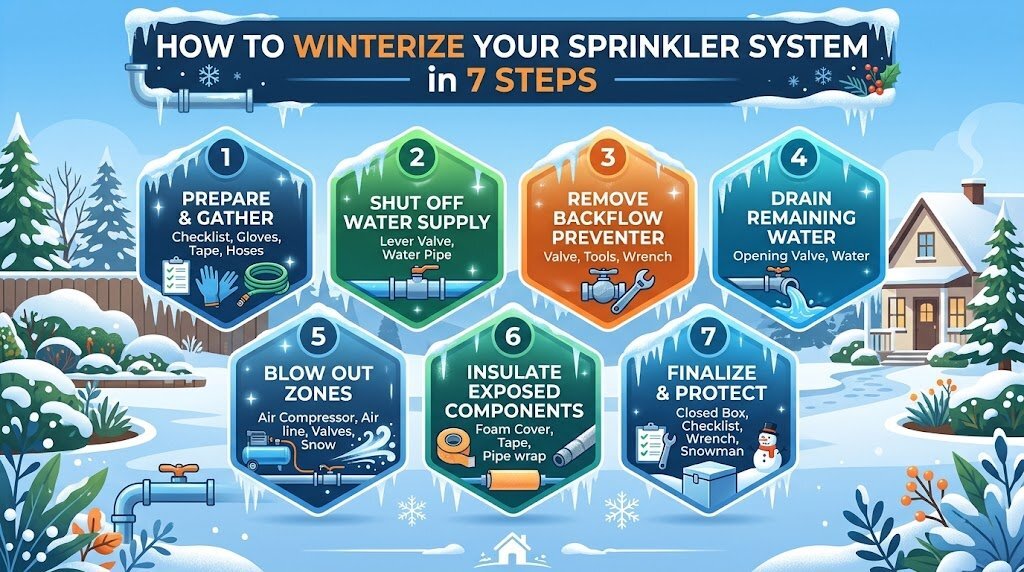
- Turn Off the Water Supply: Locate and close the main irrigation shutoff valve to stop water from entering the system.
- Shut Down the Controller: Set your irrigation timer to "rain mode" or turn it off to prevent accidental winter watering cycles.
- Open Manual Drain Valves: Release standing water from low points and pipe ends to reduce the volume left in the lines.
- Connect the Air Compressor: Attach a compressor to the blowout fitting downstream of the backflow preventer for safe air entry.
- Blow Out Each Zone One at a Time: Run compressed air through each zone individually until only a fine mist exits the heads.
- Protect the Backflow Preventer: Drain, insulate, and leave test cocks partially open so trapped water can't freeze inside the assembly.
- Insulate Exposed Pipes and Valves: Wrap above-ground plumbing with foam covers to guard against temperature swings through winter.
How to Winterize Your Lawn Sprinkler System Before Freezing Weather
1. Turn Off the Water Supply
Start at the main irrigation shutoff valve. In most Maryland homes, you'll find it in the basement, crawlspace, or an underground valve box near the water meter. Give the valve a quarter turn to close it completely.
If your valve is underground, you may need a water meter key to access it. Don't force a valve that resists turning. A stuck valve is worth a service call on its own, because a valve that won't close fully can allow water to seep back into drained lines over the winter.
Once the supply is off, no new water enters the system. The water already inside the pipes, valves, and heads is what you need to remove in the following steps.
2. Shut Down the Controller
Your irrigation controller is the brain that tells zones when to run. If you leave it active, it could trigger a watering cycle in the middle of January with no water supply and frozen ground.
Most modern controllers have a "rain mode" setting that pauses all scheduled watering without erasing your saved programs. Use it. When spring arrives, you switch back and your old schedule is ready to go.
Keep the controller plugged in through winter. The small amount of heat from the transformer helps reduce moisture buildup and corrosion inside the unit.
3. Open Manual Drain Valves
Many irrigation systems have manual drain valves installed at low points and at the ends of pipe runs. Opening these valves lets gravity pull standing water out of the lines.
Wear eye protection when opening drain valves. The water in the system is still under some residual pressure, and it can spray unexpectedly. Open each valve slowly, let the water flow, and leave the valves open until you complete the blowout step.
Gravity draining alone won't get all the water out. Buried pipes shift over time, creating low spots where water collects and can't drain on its own. That's why the compressed air blowout in the next steps matters.
4. Connect the Air Compressor
Look for the blowout fitting on your system. It's typically located just downstream of the backflow preventer. You'll need a sprinkler blowout adapter to connect your compressor hose to this fitting.
Close the isolation valve between the backflow preventer and the house side before connecting the compressor. Air should never be forced backward through a backflow device. Doing so can damage internal seals and diaphragms that protect your drinking water.
For most residential systems in Maryland, a compressor rated at around 5 to 10 CFM (cubic feet per minute) at 40 to 50 PSI is sufficient when you blow out one zone at a time. CFM matters more than raw PSI here. A high-pressure, low-volume compressor leaves water behind in the lines.
5. Blow Out Each Zone One at a Time
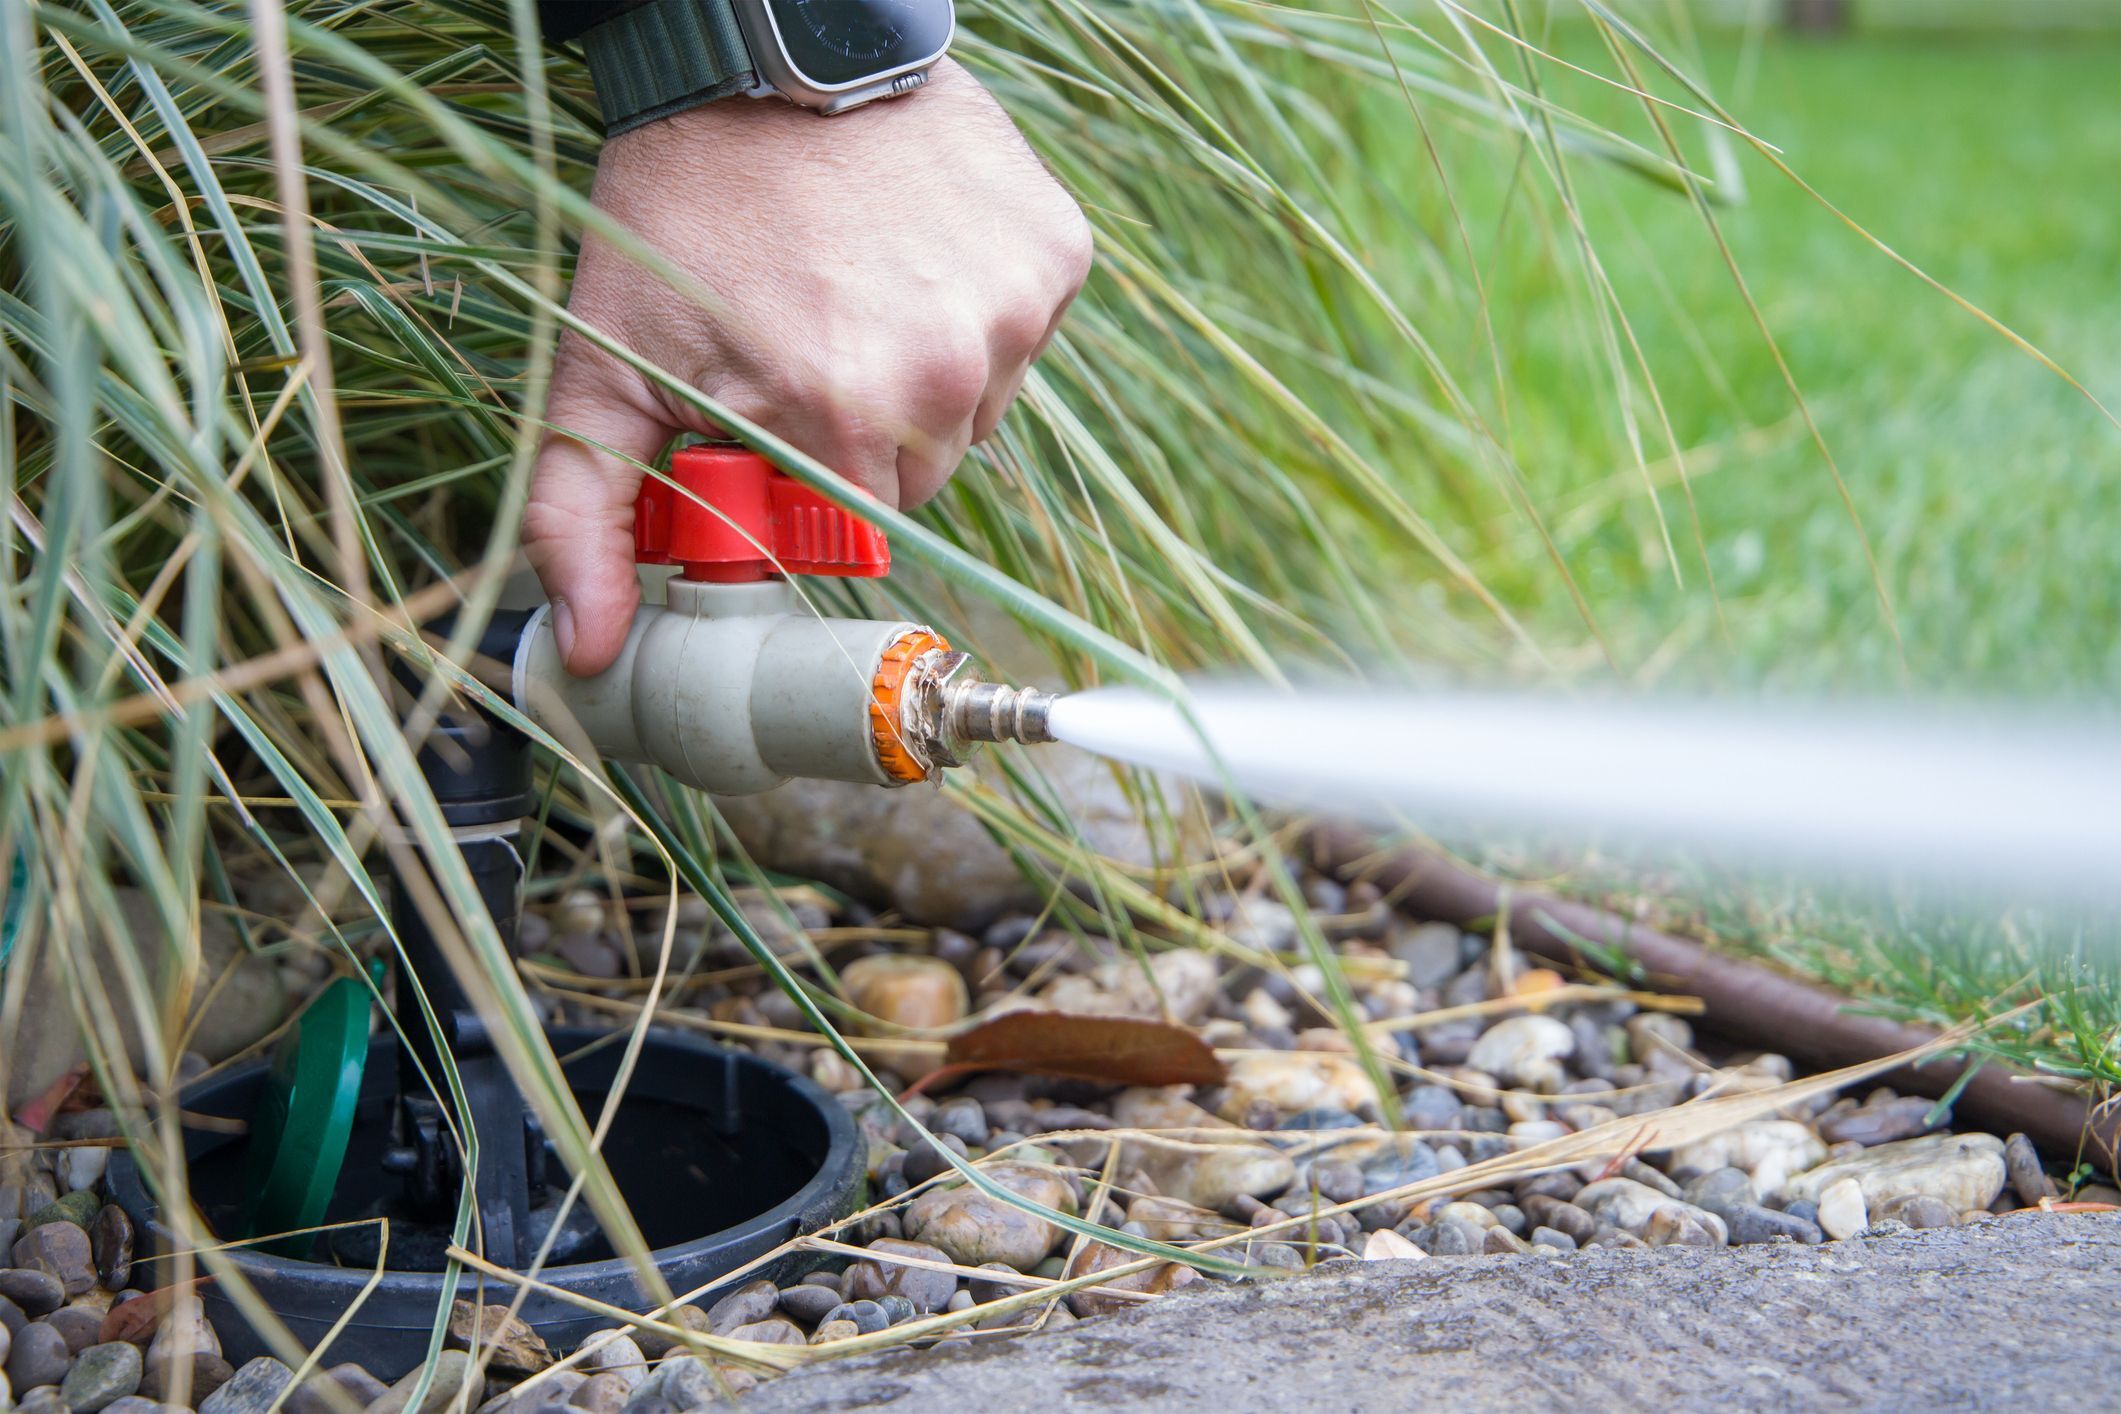
Open one zone on your controller and slowly increase the compressor's air pressure. Watch the sprinkler heads pop up and begin spraying water. When the spray turns to a fine mist and then to dry air, that zone is clear.
Never exceed 80 PSI for rigid PVC piping or 50 PSI for flexible polyethylene tubing. Excess pressure can crack fittings and blow nozzles right off the heads. Run each zone through the blowout process twice to catch any remaining water trapped in low spots.
Turn off the compressor before switching between zones. Running compressed air through dry pipes for too long generates friction heat that can warp plastic components.
6. Protect the Backflow Preventer
The backflow preventer sits above ground on most Maryland systems, making it one of the first components exposed to freezing air. After the blowout, open the test cocks on the assembly and turn the ball valves to a 45-degree angle.
Leaving these valves partially open prevents water from getting trapped inside the body of the preventer. If an above-ground preventer freezes with water inside, the brass housing can crack. Replacing a damaged backflow assembly is one of the more costly spring repairs we see at TLC.
For added protection, wrap the assembly with an insulated backflow cover rated for your climate zone. Don't block the vent or drain openings on the device.
7. Insulate Exposed Pipes and Valves
Any above-ground plumbing, including the main shutoff valve, exposed pipe runs, and fittings near the foundation, should be wrapped with foam pipe insulation or insulation tape. These components are vulnerable to temperature drops even after the system has been drained and blown out.
Foam faucet covers work well for outdoor spigots connected to the irrigation supply. Make sure insulation fits snugly with no gaps where cold air can reach the pipe surface.
Once everything is insulated, your system is ready to sit safely through winter. When spring comes, you'll close the test cocks, slowly reopen the main valve, and run each zone to check for leaks or cracked heads before your lawn needs its first watering.
What Happens If You Skip Sprinkler Winterization?
Skipping winterization is a gamble that rarely pays off in the Mid-Atlantic. Water left inside pipes, valves, and heads freezes when temperatures drop below 32°F. As that water turns to ice, it expands by roughly 9%, generating pressures that exceed what PVC and polyethylene pipe can handle.
The result is cracked pipe runs underground, split fittings at joints, broken sprinkler heads, and damaged valve diaphragms. You won't notice any of it until you turn the system on in spring and see water bubbling up across your yard.
According to a 2025 analysis citing Irrigation Association data, up to 38% of irrigation system failures in northern U.S. states are tied to freeze damage, with average repair costs ranging from $425 to $1,200 per incident.
When you've been maintaining sprinkler systems in Maryland for more than four decades like we have here at TLC, you start to see certain patterns. Systems that get winterized every fall last longer, perform better at spring startup, and cost less to maintain over their lifetime.
When Is the Right Time to Winterize in Maryland?
Aim to winterize before the first hard freeze, which in central Maryland, the DC metro area, and Northern Virginia typically arrives between late October and mid-November. A hard freeze means overnight temperatures that stay at or below 28°F for several consecutive hours.
Don't wait for the forecast to show freezing temperatures before you call. Professional winterization appointments fill up fast in October, and an early cold snap can catch you off guard. Shutting your irrigation down a week or two early won't hurt your lawn. The grass is already slowing down by mid-fall, and it will bounce back with proper watering in spring.
If you're on a TLC membership program, your winterization is already built into your seasonal schedule with priority booking. That's one less thing to worry about when fall arrives.
How TLC Helps You Protect Your Sprinkler System for Winter
TLC Incorporated provides full-service sprinkler winterization for homeowners across Maryland, DC, and Northern Virginia. Our technicians use commercial-grade compressors that move significantly more air than typical homeowner models, clearing every zone thoroughly and efficiently.
Every TLC winterization includes shutting down the water supply, a professional air-compression blowout of all lines and heads, protection of valves and backflow preventers, a system inspection, and recommendations for spring startup.
We back our work with a free 7-year parts and labor warranty. Our 600+ reviews averaging 4.8 stars and A+ Better Business Bureau rating reflect the kind of service homeowners in the DMV have come to expect from us since the 1980s.
Ready to get your system protected? Schedule your winterization with TLC and lock in your preferred date before the cold arrives.

FAQs About Lawn Sprinkler Winterization
Can I winterize my sprinkler system without an air compressor?
You can shut off the water and open the manual drain valves to remove some water from the lines. Gravity draining helps, but it won't clear water from low spots where buried pipes have shifted. For full freeze protection, a compressed air blowout is the most reliable method, and TLC provides this service across Maryland, DC, and Northern Virginia.
How long does a professional sprinkler blowout take?
Most residential systems in the Mid-Atlantic take about 30 to 45 minutes to winterize. Larger systems or properties with drip irrigation zones may take a bit longer. TLC's trained technicians handle the entire process, from water shutoff to backflow protection, in a single visit.
What PSI should I use for a sprinkler blowout?
Keep the pressure at or below 80 PSI for rigid PVC pipe and 50 PSI for flexible polyethylene tubing. Airflow measured in CFM matters more than raw pressure. A compressor with too little airflow leaves water behind in the system, even if the pressure is high.
Do I need to winterize if I have automatic drain valves?
Yes. Automatic drain valves rely on gravity and properly sloped pipe to work. Over time, buried pipes shift and create low spots where water collects and can't drain out on its own. A compressed air blowout clears those hidden pockets. TLC recommends a full winterization regardless of your drain valve type.
What does freeze damage look like when I turn the system on in spring?
Common signs include water bubbling up in random spots across the yard, zones that refuse to turn on, sprinkler heads that spray weakly, and visible cracks on exposed fittings. If you spot any of these after winter, contact TLC's repair team before running the system further to avoid compounding the damage.
